How people look at having a computer has changed over time. It is no longer a privilege that only the elite can afford. Instead, it is a part of living, something you need to manage your business or work better.
PCs come in various shapes and prices, so there can be one that will come close to your requirements. Despite that, have you ever thought of customizing your own to achieve all your computer needs?
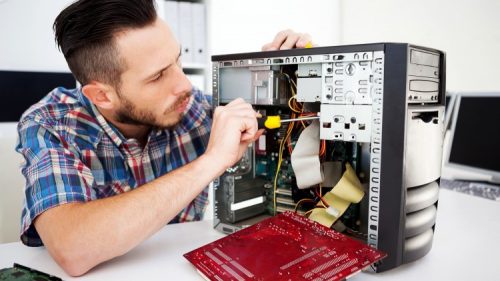
How to Build A PC
The steps below will guide you on how to assemble the computer hardware. There are DIY kits available with complete parts, but in case you want to work from scratch, you need these:
- – Casing
- – Power supply unit
- – Motherboard
- – CPU
- – Fan
- – RAM
- – Graphics card (optional)
- – Thermal paste
- – Data drive
Step 1: Fix the CPU case.
Whether it’s plastic or metallic, two sides of a CPU hard shell can open when you slide or lift them. You just have to choose which side to expose, and then lay the case with that portion facing upward.
Step 2: Install the power supply.
After that, it’s vital to attach the power source in the case. You won’t miss it since there’s usually a rectangular cut on the shell to make room for the unit.
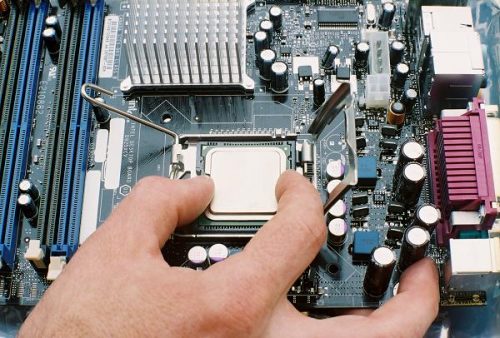
Step 3: Assemble the motherboard.
Putting together the computer’s backbone is. Considering you don’t need to solder resistors, transistors, and capacitors anymore, your job goes down to the microchip, the cooling fan, and the memory (RAM). The important thing is to carefully press the pieces down in the right direction, because breaking any of the bits may render the object useless.
Step 4: Install the motherboard.
Once the essential parts have been locked and loaded into the motherboard, attach the latter in the case. None of its edges should touch the hard shell itself; thus, make sure that standoffs guard the sides. Bolt the motherboard in place as well to prevent it from moving around.
Step 4.5: Include extra cards.
With the motherboard inside the hard shell, you may also add graphics, sound, and other expansion cards to it. It is a bonus for gamers since you’ll be able to upgrade the quality of the video games you play.
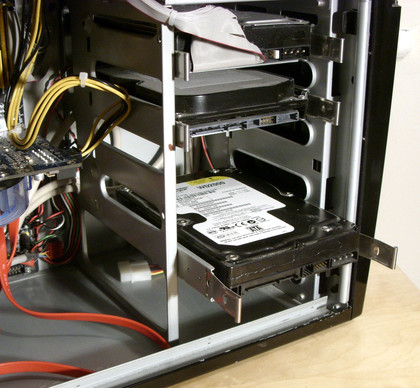
Step 5: Decide on the data drive.
The second to the last step is choosing among four types of storage units: optical disk drive, disk hard drive, solid state drive, and M.2. Their sizes and newness decrease in the same order, so opt for what’s the best for your case.
Step 6: Check your masterpiece.
As much as you wish to turn the customized PC on immediately, stop yourself long enough to inspect the hardware. Ensure that all cables are connected to the right spots. If there are loose ends, find out where they should go. Otherwise, your work will amount to nothing.
Now, isn’t customizing your PC easy? You don’t need a computer-related degree to do it well. Try it soon to understand what we mean. Cheers!